
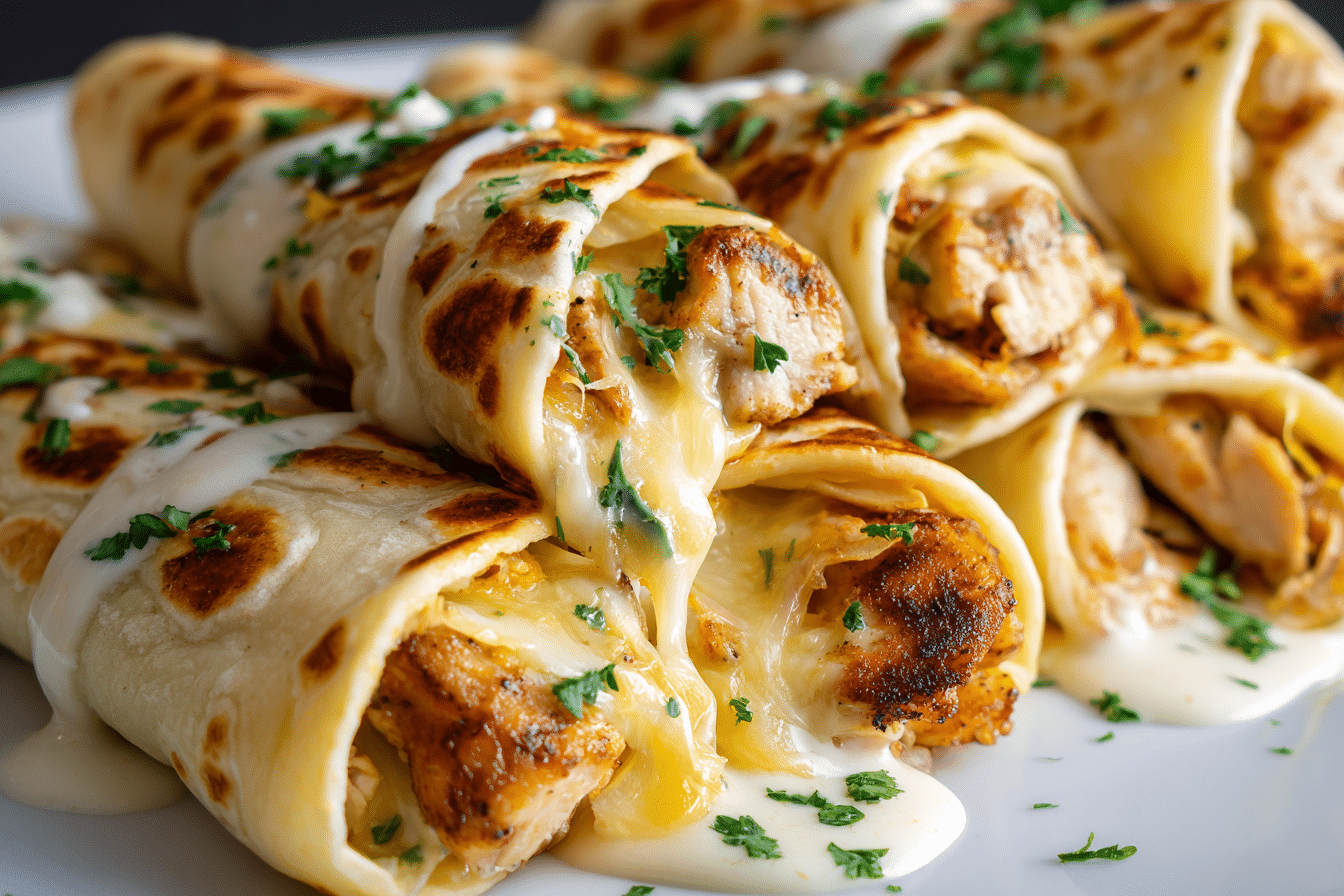
When you’re craving something bold, savory, and satisfying, Cheesy Garlic Chicken Wraps deliver every time. Imagine juicy garlic-seasoned chicken, melty cheese, and crispy golden tortillas wrapped into one handheld meal that’s packed with flavor in every bite.
This recipe is a street-food-style mashup of bold garlic, creamy cheese, and tender chicken wrapped in warm tortillas and pan-toasted until crisp. It’s the kind of meal that comes together fast—perfect for busy weeknights, quick lunches, or party platters.
Inspired by classic garlic chicken dishes and Tex-Mex-style wraps, these cheesy wraps are endlessly customizable. Whether you like yours spicy, mild, grilled, or oven-baked, this wrap satisfies all flavor cravings and textures in one compact package.
Ingredients Overview
Chicken (Breast or Thighs)
Boneless, skinless chicken breasts are lean and cook quickly, while thighs stay extra juicy and offer more flavor. Chop them into bite-sized pieces or strips for easy wrapping.
Fresh Garlic
Freshly minced garlic infuses the chicken with bold, aromatic flavor. You’ll sauté it with the chicken or butter base to mellow its bite and deepen the richness.
Cheese – Mozzarella, Cheddar, or a Blend
Melted cheese is the heart of these wraps. Mozzarella melts beautifully, while sharp cheddar adds tang. Use a mix for the best flavor and stretch. Monterey Jack or pepper jack bring a creamy, slightly spicy option.
Tortillas (Flour)
Large burrito-size flour tortillas are best for wrapping and crisping. Choose pliable, soft ones that won’t tear when folding. Whole wheat or spinach wraps work as well.
Butter or Olive Oil
Used for cooking the chicken and toasting the wraps. Butter adds flavor and helps create that golden, crispy finish.
Optional Add-ins:
-
Sautéed onions or peppers for sweetness and crunch
-
Cooked bacon for smoky depth
-
Fresh baby spinach or arugula for color and bite
-
A swipe of garlic mayo, ranch, or spicy aioli inside the wrap for extra moisture
Spices and Seasoning:
-
Salt and black pepper
-
Paprika or smoked paprika for color
-
Italian seasoning or cumin, depending on your flavor profile preference
-
Red pepper flakes or chili powder if you like heat
Step-by-Step Instructions
-
Cook the Chicken
Cut the chicken into small strips or cubes. Season generously with salt, pepper, paprika, and garlic powder. In a skillet over medium heat, add butter or oil and cook the chicken for 5–7 minutes, until golden and cooked through. Add minced garlic in the last minute of cooking so it doesn’t burn. -
Prep the Wrap Fillings
Set out your tortillas. Spread with a thin layer of sauce if desired (garlic aioli, ranch, or even sour cream). Add a handful of shredded cheese, the cooked chicken, and any optional add-ins. -
Wrap It Up
Fold in the sides, then roll tightly from the bottom into a burrito-style wrap. Press gently to hold shape. -
Toast the Wraps
Heat a clean skillet or grill pan over medium heat. Add a bit of butter or oil, then place the wraps seam-side down. Cook for 2–3 minutes per side until golden brown and the cheese inside is melted. -
Slice and Serve
Let rest for 1 minute, then slice in half diagonally for a clean, melty reveal.
Chef Tips:
-
Warming tortillas briefly in the microwave or on a pan before filling makes them easier to roll.
-
Don’t overfill the wraps—too much filling can cause tearing.
-
Use a cast iron or heavy-bottom skillet for even browning and crisp edges.
Tips, Variations & Substitutions
Tips for Success:
-
Cook the chicken ahead for meal prep—these wraps reheat beautifully.
-
Add a layer of lettuce or greens after cooking for freshness and crunch.
-
Use toothpicks to secure wraps before pan-toasting if they tend to unroll.
Variations:
-
Spicy Kick: Add jalapeños, chipotle mayo, or buffalo sauce to the filling.
-
BBQ Style: Toss cooked chicken with barbecue sauce and use smoked gouda or cheddar.
-
Greek-Inspired: Use grilled chicken, tzatziki, feta, and red onion.
-
Vegetarian Version: Swap chicken for sautéed mushrooms, black beans, or roasted veggies.
Substitutions:
-
Low-carb: Use low-carb tortillas or lettuce leaves for a lighter wrap.
-
Dairy-free: Use dairy-free cheese alternatives and olive oil instead of butter.
-
Gluten-free: Use certified gluten-free tortillas and double-check seasoning blends.
Serving Ideas & Occasions
These wraps are incredibly versatile and perfect for both casual and entertaining settings.
Serve With:
-
A side of fries or sweet potato wedges
-
Fresh green salad with vinaigrette
-
Pickles or slaw for crunch
-
Dipping sauces: ranch, chipotle mayo, sriracha aioli, garlic yogurt sauce
Perfect For:
-
Quick weeknight dinners
-
Packed lunches or lunchboxes
-
Game day or movie night food
-
Party platters (cut into halves or thirds and serve with dips)
Wraps are portable, fun, and filling—ideal for busy families or feeding a crowd with minimal cleanup.
Nutritional & Health Notes
These wraps are a satisfying balance of protein, carbs, and fat—especially if you go easy on the cheese and butter.
Approximate Nutrition Per Wrap (with chicken, cheese, and tortilla):
-
Calories: 450–550
-
Protein: 30–35g
-
Carbs: 35–40g
-
Fat: 20–25g
To Make Healthier:
-
Use grilled chicken breast instead of sautéed in butter
-
Choose whole wheat or low-carb tortillas
-
Reduce cheese or use light cheese
-
Add more greens or veggies for fiber and volume
Balanced, hearty, and satisfying—these wraps are indulgent but can be made lighter without sacrificing flavor.
FAQs
Q1: Can I make these wraps ahead of time?
A1: Yes! Assemble and refrigerate un-toasted wraps for up to 2 days. Toast just before serving for the crispiest texture.
Q2: Can I freeze cheesy garlic chicken wraps?
A2: You can! Wrap tightly in foil or plastic and freeze for up to 2 months. Reheat in a toaster oven or skillet to crisp them back up.
Q3: What’s the best cheese for melting?
A3: Mozzarella melts beautifully and stretches, while cheddar adds sharpness. A combo of both gives flavor and texture. Avoid pre-shredded cheese for best melt.
Q4: How do I keep the wraps from getting soggy?
A4: Avoid overfilling and make sure hot ingredients like chicken are slightly cooled before wrapping. Toasting the wraps also creates a barrier that helps prevent sogginess.
Q5: Can I bake instead of pan-toast?
A5: Yes. Place wrapped tortillas seam-side down on a baking sheet, brush with butter or oil, and bake at 400°F for 10–12 minutes until golden.
Q6: What sauces go well inside these wraps?
A6: Garlic aioli, ranch, chipotle mayo, spicy sriracha mayo, or even a light smear of cream cheese add moisture and extra flavor.
Q7: Are these kid-friendly?
A7: Definitely! Use mild cheese and skip the spicy ingredients for younger eaters. Cut into halves or pinwheels for easy handling.
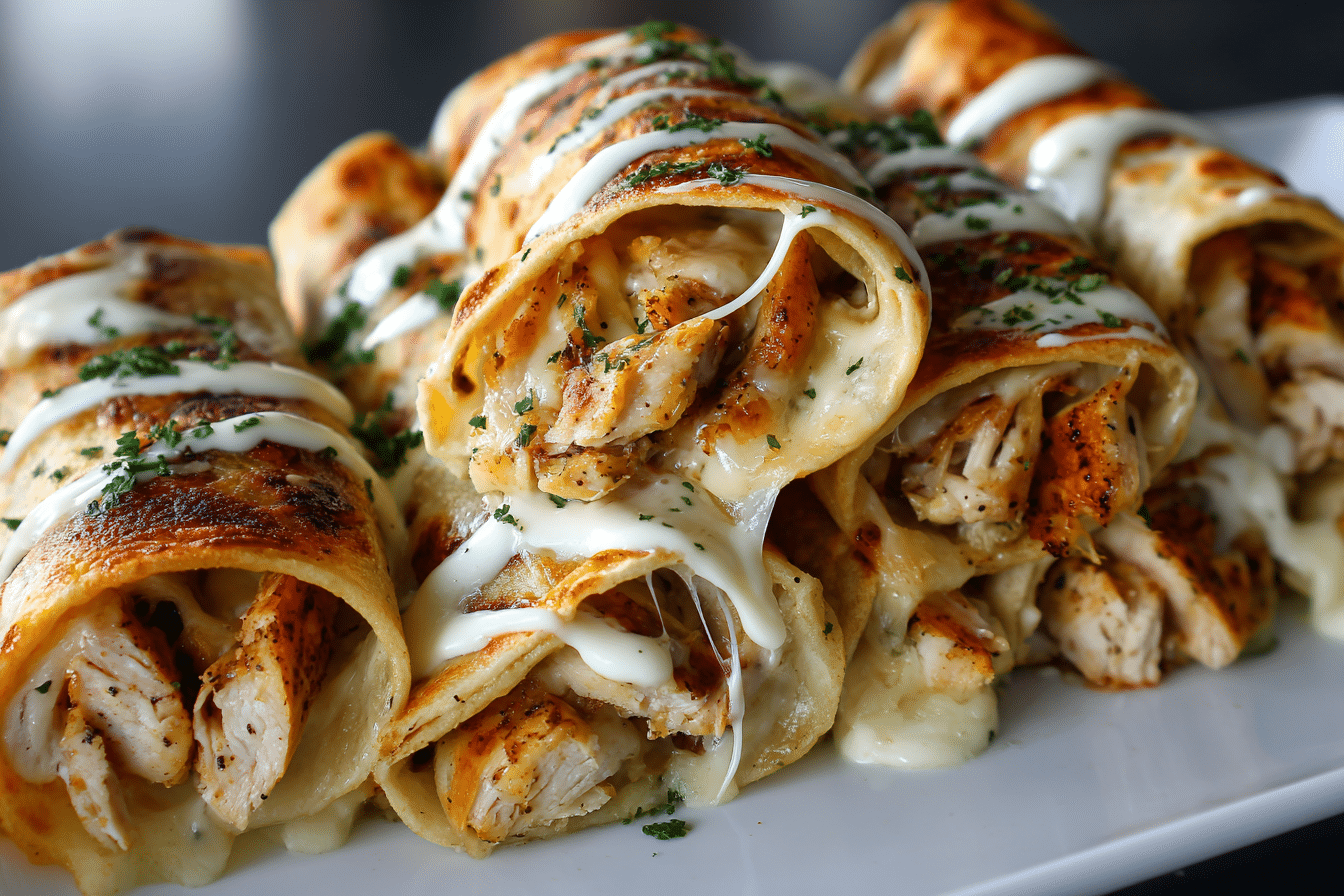
Crispy, melty, cheesy garlic chicken wraps made with juicy chicken, lots of garlic, and your favorite cheese. Toasted in a skillet until golden—perfect for lunch, dinner, or on-the-go meals.
- Prep Time: 15 minutes
- Cook Time: 15 minutes
- Total Time: 30 minutes
- Yield: 4 servings 1x
Ingredients
-
1.5 lbs boneless chicken (breasts or thighs), chopped
-
6–8 garlic cloves, minced
-
1 tbsp butter or olive oil
-
1 tsp salt
-
½ tsp black pepper
-
½ tsp paprika
-
1½ cups shredded cheese (mozzarella, cheddar, or blend)
-
4 large flour tortillas
-
Optional: ranch or garlic mayo, sautéed onions, spinach, cooked bacon
Instructions
-
Season chicken with salt, pepper, and paprika.
-
Heat butter or oil in a skillet. Cook chicken until golden and cooked through, about 7 minutes. Add garlic in the last minute.
-
Lay tortillas flat. Add sauce (if using), cheese, chicken, and any extras. Roll tightly into wraps.
-
Toast in a skillet over medium heat for 2–3 minutes per side until golden.
-
Slice and serve warm.