
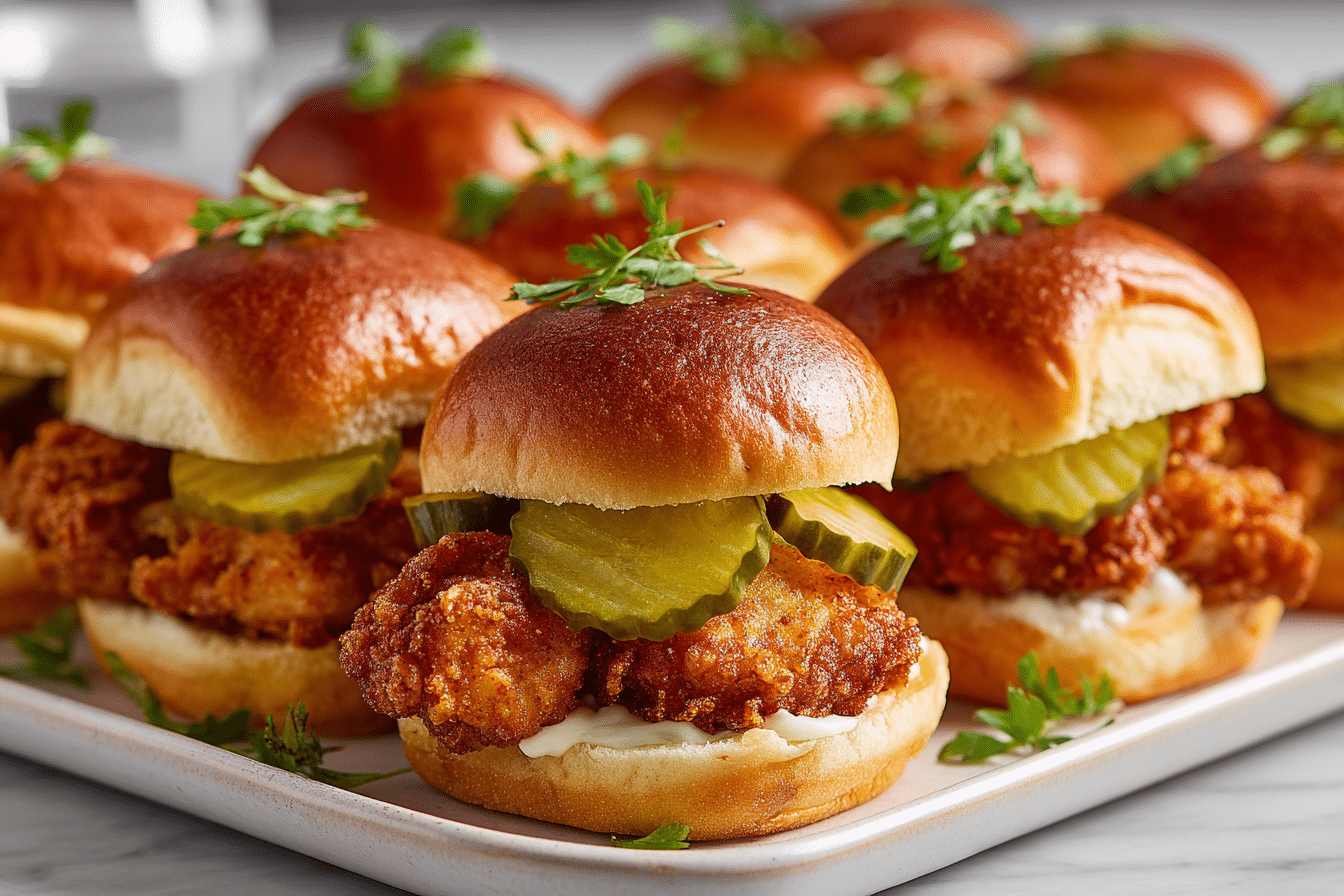
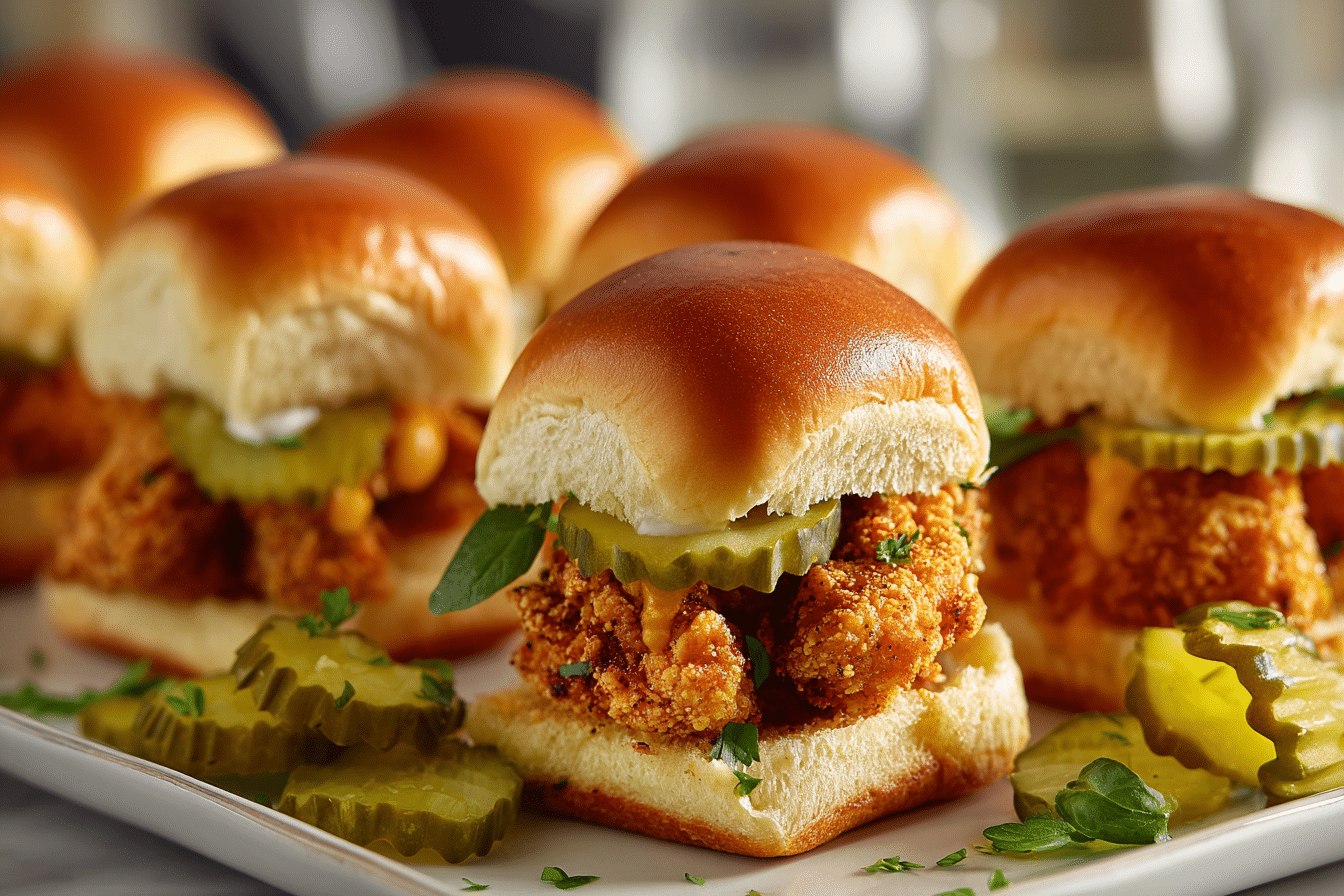
Bite-sized, crunchy, and bursting with bold flavor, these Pickle-Brined Crispy Chicken Slider Bites are far from ordinary. With juicy chicken marinated in dill pickle brine, then coated and fried until golden, they deliver serious flavor in a fun, snackable package. Whether you’re cooking for a weekend get-together or a casual family dinner, these sliders are a guaranteed hit.
The magic starts in the brine. Pickle juice isn’t just a leftover—it’s a flavorful powerhouse that transforms plain chicken into something remarkable. It works as a tenderizer and flavor booster, creating juicy, flavorful bites. Once dredged in seasoned flour and fried, each piece has a crispy shell that contrasts beautifully with the juicy interior.
Serve them on soft slider buns with your favorite toppings, and you’ve got the perfect combination of tangy, savory, and crunchy. These sliders are addictive, fun to eat, and surprisingly easy to prepare.
Ingredient Rundown
Boneless Chicken (Thighs or Breasts)
Chicken thighs are best for this recipe thanks to their natural richness and moisture. Chicken breasts work well too if you prefer leaner meat—just be mindful of cook time to prevent dryness.
Dill Pickle Juice
This zippy brine is the star of the show. It adds acidity, saltiness, and a signature pickle flavor while breaking down the chicken’s fibers for ultra-tender results. You can also use bread-and-butter pickle juice for a sweeter twist.
Buttermilk
Buttermilk works alongside the brine to further tenderize the chicken and helps the breading adhere during coating. Don’t have buttermilk? Mix milk with a teaspoon of lemon juice or vinegar and let it sit for 5–10 minutes.
Flour and Cornstarch
The ideal combo for crispiness. All-purpose flour forms the base, while cornstarch creates a lighter, crunchier texture in the final fry.
Spices and Seasonings
A blend of paprika, garlic powder, onion powder, black pepper, salt, and a pinch of cayenne gives the coating depth and balance. Adjust the cayenne to your spice tolerance.
Eggs
Beaten eggs act as the glue, helping the flour mixture stick to each piece of chicken for that signature crispy exterior.
Oil for Frying
Choose a neutral oil with a high smoke point, such as vegetable, canola, or peanut oil. This ensures even frying without overwhelming the flavor.
Slider Buns
Soft, slightly sweet buns like brioche or Hawaiian rolls offer the perfect contrast to the savory, crispy chicken. Toasting the buns adds texture and helps prevent sogginess.
Optional Garnishes
Dill pickle slices and a drizzle of sauce—like spicy mayo, ranch, or honey mustard—enhance the flavor and bring everything together.
How to Make Them: Step-by-Step
1. Marinate the Chicken
Cut the chicken into small pieces suitable for sliders. In a bowl, combine dill pickle juice and buttermilk, then submerge the chicken in the mixture. Cover and refrigerate for at least four hours—overnight is ideal for maximum flavor and tenderness.
2. Set Up Your Coating Station
Prepare two shallow dishes: one with beaten eggs, and the other with a mix of flour, cornstarch, and your seasoning blend. Have a tray ready for the coated chicken.
3. Dredge and Coat
Take the marinated chicken out of the brine and gently pat dry with paper towels. Dip each piece first into the egg mixture, then into the seasoned flour. Press gently to ensure the coating sticks well. Let the coated chicken rest on a tray for 10 minutes before frying to help the crust firm up.
4. Heat the Oil
Fill a large skillet or deep pan with about two inches of oil and heat to 350°F. Use a thermometer to maintain steady heat for even cooking and crispness.
5. Fry the Chicken
Working in batches, fry the chicken for 3 to 4 minutes on each side, or until golden brown and fully cooked. The internal temperature should reach 165°F. Don’t overcrowd the pan—this keeps the oil temperature consistent and the coating crispy.
6. Drain and Rest
Transfer the fried pieces to a wire rack placed over a baking sheet. This helps excess oil drip off while keeping the chicken crunchy. Avoid using paper towels, which can create steam and soften the crust.
7. Toast the Buns
For the best texture, lightly butter and toast the slider buns in a hot skillet or under the broiler until golden. This step adds flavor and keeps the buns from becoming soggy.
8. Build Your Sliders
Place a piece of crispy chicken on each bun bottom. Top with pickle slices and your chosen sauce, then finish with the bun top. Serve immediately for the best crunch and flavor.
Helpful Tips, Flavor Swaps & Ingredient Options
Tips for Success
-
Don’t rush the marinating process—at least four hours gives the best results.
-
Letting the coated chicken rest before frying helps the crust bind better.
-
Keep cooked pieces warm in a low oven (200°F) while you finish the rest.
Tasty Variations
-
Add a splash of hot sauce to the marinade or egg wash for extra heat.
-
Use different pickles for unique flavors—garlic dill, spicy, or sweet.
-
For added texture, try panko breadcrumbs or crushed crackers in the coating mix.
Substitution Suggestions
-
Greek yogurt can be used in place of buttermilk for a creamy marinade.
-
To make it gluten-free, use gluten-free flour and breadcrumbs.
-
For a healthier option, air fry the chicken at 400°F for 10–12 minutes or bake in the oven until crispy and cooked through.
How to Serve & What to Pair With
These mini sandwiches are made for sharing. Whether you’re feeding a group or just treating yourself, they fit any casual occasion.
Perfect Pairings Include:
-
Crisp coleslaw or a fresh veggie salad
-
Sweet potato fries, seasoned chips, or roasted potatoes
-
Refreshing drinks like lemonade, iced tea, or a chilled lager
They’re also great as finger food for parties. Keep them on a tray with cocktail picks for a fun, interactive appetizer setup.
Nutrition and Balanced Choices
Even though these sliders are fried, they can still be part of a balanced meal. The use of pickle brine provides flavor without added fat, and smaller portions make them easy to enjoy in moderation.
Lighter Options:
-
Choose air frying or baking instead of deep frying.
-
Swap in chicken breast and whole wheat buns.
-
Add a side of raw veggies or a light soup for balance.
Pickles themselves are low in calories and can support hydration. Chicken is a solid source of lean protein, especially if you trim excess fat or use white meat.
Frequently Asked Questions
1. Can I use store-bought chicken tenders?
Yes, store-bought or fresh chicken tenders are a great shortcut. Just brine, coat, and cook the same way. They’re already the perfect size for sliders.
2. What if I don’t have pickle juice?
Make a quick brine using white vinegar, a little water, salt, sugar, and garlic. Let it sit with some cucumber slices for an hour to mimic the effect.
3. Can I prep these in advance?
You can marinate and bread the chicken ahead of time. Just store the coated pieces in the fridge until ready to fry. Freshly fried is best, but you can reheat leftovers in the oven to restore crispness.
4. How can I control the saltiness?
If you’re sensitive to salt, dilute the pickle juice slightly with water and reduce the salt in the flour mix. Taste your pickles before brining to get a sense of the salt level.
5. What sauces go best with these sliders?
Spicy mayo, chipotle aioli, honey mustard, garlic ranch, or even a dash of barbecue sauce all pair beautifully with the tangy chicken.
6. Is baking a good option?
Absolutely. While it won’t be quite as crispy, baking on a rack in a 425°F oven gives a great texture with much less oil. Flip halfway through for even browning.
7. Can I make a gluten-free version?
Yes—just use a gluten-free flour blend and make sure your pickles and sauces are also gluten-free. Cornstarch adds crispness and works well in gluten-free coatings.
Tender chicken bites soaked in dill pickle brine, coated in seasoned flour, and fried until crisp—then served on slider buns with pickles and your favorite sauce. A tangy, crunchy crowd-pleaser.
- Prep Time: 15 minutes
- Cook Time: 15 minutes
- Total Time: 30 minutes
- Yield: 4 servings 1x
Ingredients
1½ lbs boneless skinless chicken thighs
1 cup dill pickle juice
1 cup buttermilk
1½ cups all-purpose flour
½ cup cornstarch
2 tsp paprika
1½ tsp garlic powder
1 tsp onion powder
½ tsp cayenne pepper
1½ tsp kosher salt
1 tsp black pepper
2 eggs, beaten
Oil for frying
12 slider buns
Sliced pickles (optional)
Sauce of choice (optional)
Instructions
-
Slice chicken into slider-sized pieces.
-
In a bowl, combine pickle juice and buttermilk. Add chicken and marinate in fridge for at least 4 hours.
-
Prepare dredging station with beaten eggs and a mix of flour, cornstarch, and spices.
-
Pat chicken dry, dip in egg, then coat in flour mix. Let rest 10–15 minutes.
-
Heat oil to 350°F. Fry chicken in batches for 3–4 minutes per side.
-
Place cooked chicken on a wire rack.
-
Toast slider buns.
-
Assemble sliders with chicken, pickles, and sauce