
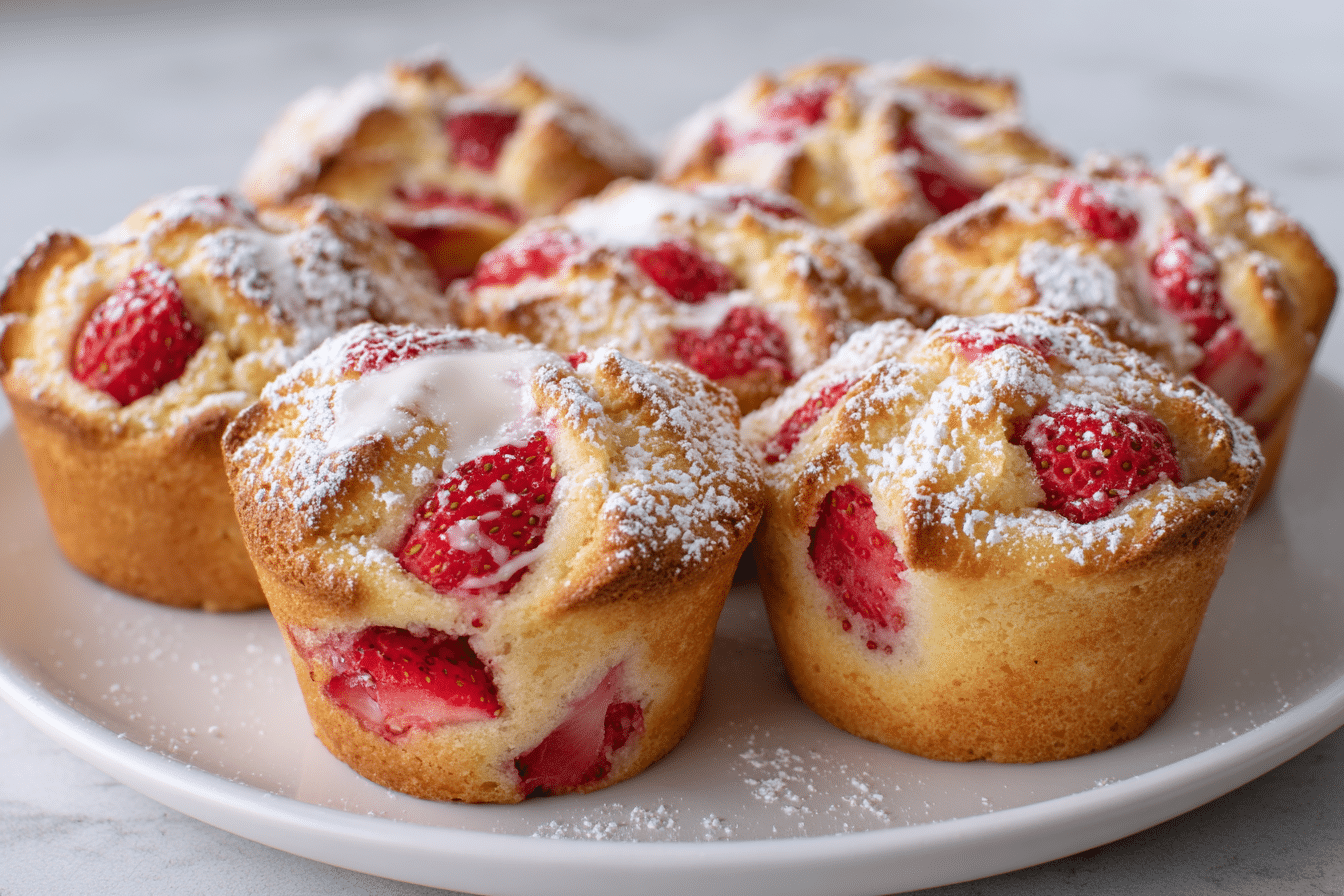
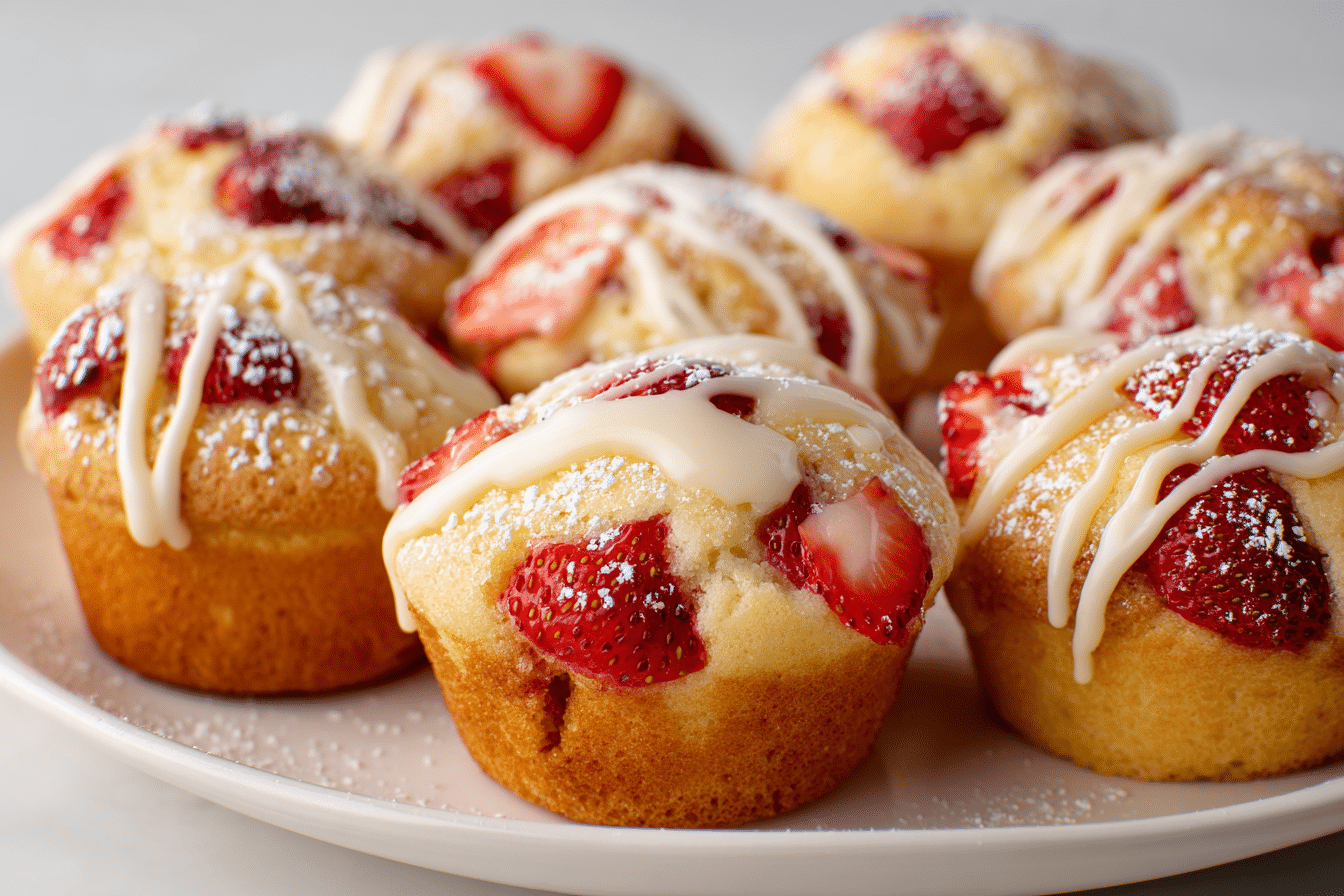
These Vegan and Gluten-Free Strawberries & Cream Muffins are soft, fluffy, and packed with the natural sweetness of juicy strawberries. Each muffin features a tender, melt-in-your-mouth texture complemented by a subtle creamy touch, giving them a satisfying, indulgent feel without any dairy or gluten. They are perfect for a morning breakfast, weekend brunch, or a charming afternoon snack that will brighten any table.
The muffins are entirely plant-based and gluten-free, making them a versatile treat for a variety of dietary needs. The batter blends the moisture from non-dairy milk and applesauce with gluten-free flours to create a delicate crumb that’s soft yet holds together beautifully. Sweetened lightly with natural sweeteners and flavored with vanilla, these muffins deliver a rich strawberry aroma and a soft, slightly golden top that makes them visually appealing and irresistible to taste.
Ingredients Overview
Fresh strawberries are the heart of this recipe, providing bright flavor and a lovely burst of natural sweetness. Their slight tartness balances perfectly with the creamy, sweetened batter. If fresh berries aren’t in season, frozen strawberries can be used, but they should be thawed and drained to avoid adding too much liquid to the batter.
Applesauce and non-dairy milk work together to create moisture and tenderness while replacing eggs in this vegan recipe. The applesauce adds subtle sweetness, while the milk ensures the batter has the right consistency. Coconut oil contributes richness and helps achieve a gentle browning on the tops, while almond flour combined with gluten-free all-purpose flour provides structure without making the muffins dense or heavy.
Maple syrup enhances the natural sweetness and pairs beautifully with strawberries, while vanilla extract deepens the flavor. Baking powder and baking soda create lift, resulting in a soft, airy texture. A pinch of salt balances the flavors and highlights the strawberry notes. Each ingredient has a distinct role: strawberries for freshness, applesauce and milk for moisture, flours for structure, sweeteners and vanilla for taste. Flexibility is possible—swap coconut oil for vegetable oil, or almond milk for oat milk—depending on preference or ingredient availability.
Ingredients
1 1/2 cups gluten-free all-purpose flour
1/2 cup almond flour
1 teaspoon baking powder
1/2 teaspoon baking soda
1/4 teaspoon salt
1/2 cup unsweetened applesauce
1/3 cup melted coconut oil
1/3 cup maple syrup
1 teaspoon vanilla extract
3/4 cup non-dairy milk (almond, oat, or soy)
1 cup diced fresh strawberries
Step-by-Step Instructions
- Preheat your oven to 350°F (175°C) and line a 12-cup muffin tin with paper liners to prevent sticking and ensure even baking.
- In a large bowl, mix together the gluten-free all-purpose flour, almond flour, baking powder, baking soda, and salt. This combination provides the necessary structure for soft yet sturdy muffins.
- In another bowl, combine the applesauce, melted coconut oil, maple syrup, vanilla, and non-dairy milk. Whisk until the mixture is smooth and slightly thick to maintain the proper batter consistency.
- Slowly add the wet ingredients to the dry ingredients, folding gently with a spatula until just incorporated. Small lumps are fine—overmixing can make muffins dense.
- Fold in the diced strawberries carefully, ensuring they are evenly distributed without being crushed. This keeps the fruit pieces intact and flavorful.
- Divide the batter evenly among the 12 muffin cups, filling each about three-quarters full. This ensures proper rise and avoids spillage.
- Bake for 22–25 minutes. Muffins are done when a toothpick inserted in the center comes out clean, and the tops feel springy and lightly golden. Avoid opening the oven prematurely to prevent collapsing.
- Allow muffins to cool in the pan for 5–10 minutes, then transfer to a wire rack to cool completely. Slightly cooling before serving helps maintain structure and texture.
- Enjoy warm, at room temperature, or store in an airtight container for 2–3 days. Muffins can also be frozen for up to 2 months for later enjoyment.
Tips, Variations & Substitutions
Dusting the strawberries with a teaspoon of flour before folding them in helps prevent sinking. For a richer flavor, drizzle melted vegan white chocolate on top after baking. Reduce maple syrup or use a sugar-free sweetener for a lighter version. Coconut oil can be replaced with vegetable oil or vegan butter for subtle differences in flavor and texture. Adding lemon zest enhances the strawberry flavor, adding a fresh, tangy note. For a nut-free version, substitute almond flour with extra gluten-free flour or oat flour.
Serving Ideas & Occasions
Pair these muffins with a hot cup of coffee or tea for a cozy breakfast or brunch. They also make a colorful addition to a picnic basket or a delightful snack platter. Their soft crumb and bright strawberry color make them suitable for spring gatherings, baby showers, or any festive morning event. Serve them warm with a smear of dairy-free cream cheese or enjoy them plain for a naturally sweet bite.
Nutritional & Health Notes
These muffins are lower in saturated fat compared to traditional butter-and-egg recipes, making them a lighter treat. They are naturally dairy-free and gluten-free, accommodating dietary restrictions and sensitivities. Fresh strawberries provide vitamin C and fiber, while almond flour contributes protein and healthy fats, giving the muffins a slightly more balanced nutritional profile. Sweetened naturally with maple syrup, they avoid refined sugar, making them a wholesome yet indulgent option.
FAQs
Can I use frozen strawberries?
Yes, but they should be thawed and drained first. Extra liquid from frozen berries can make the batter too wet, so pat dry before folding them in to preserve the right texture.
Can I make these muffins ahead of time?
Certainly. Bake them a day in advance and store in an airtight container at room temperature for up to two days or refrigerate up to five. For longer storage, freeze up to two months and warm before serving.
Are these muffins nut-free?
The recipe calls for almond flour. To make them nut-free, replace almond flour with extra gluten-free flour or oat flour. This slightly changes the texture but keeps them tender and flavorful.
Can I substitute the sweetener?
Yes. Maple syrup can be replaced with agave, brown rice syrup, or a sugar-free sweetener. Adjust sweetness to taste, especially if your strawberries are very ripe.
How do I prevent muffins from sinking?
Use fresh baking powder and soda, and fold the batter gently. Avoid overmixing to preserve the air pockets that make muffins light.
Can I make mini muffins?
Yes. Use a mini muffin tin and bake for 12–15 minutes. Mini muffins are perfect for snacks, lunchboxes, or bite-sized treats at parties.
What is the best way to serve these muffins?
They are delicious warm or at room temperature. Spread with dairy-free cream cheese or nut butter for added richness, and pair with tea or coffee for a comforting, sweet experience.
Print
Soft, tender, and bursting with fresh strawberry flavor, these vegan and gluten-free muffins are ideal for breakfast, brunch, or a light snack.
Ingredients
1 1/2 cups gluten-free all-purpose flour
1/2 cup almond flour
1 teaspoon baking powder
1/2 teaspoon baking soda
1/4 teaspoon salt
1/2 cup unsweetened applesauce
1/3 cup melted coconut oil
1/3 cup maple syrup
1 teaspoon vanilla extract
3/4 cup non-dairy milk (almond, oat, or soy)
1 cup diced fresh strawberries
Instructions
- Preheat oven to 350°F (175°C) and line a 12-cup muffin tin with paper liners.
- Mix gluten-free flour, almond flour, baking powder, baking soda, and salt.
- In a separate bowl, whisk applesauce, coconut oil, maple syrup, vanilla, and non-dairy milk.
- Combine wet and dry ingredients, folding gently.
- Fold in diced strawberries.
- Fill muffin cups 3/4 full.
- Bake 22–25 minutes until lightly golden and a toothpick comes out clean.
- Cool 5–10 minutes in the pan, then transfer to a wire rack.